 AnimeGameVerse
Cracking the Clock Studios Dream Ticker Puzzles in Honkai: Star Rail
Clock Studios Theme Park Penacony thrills Trailblazers with Dream Ticker puzzles and beloved characters for a cartoon-like adventure.
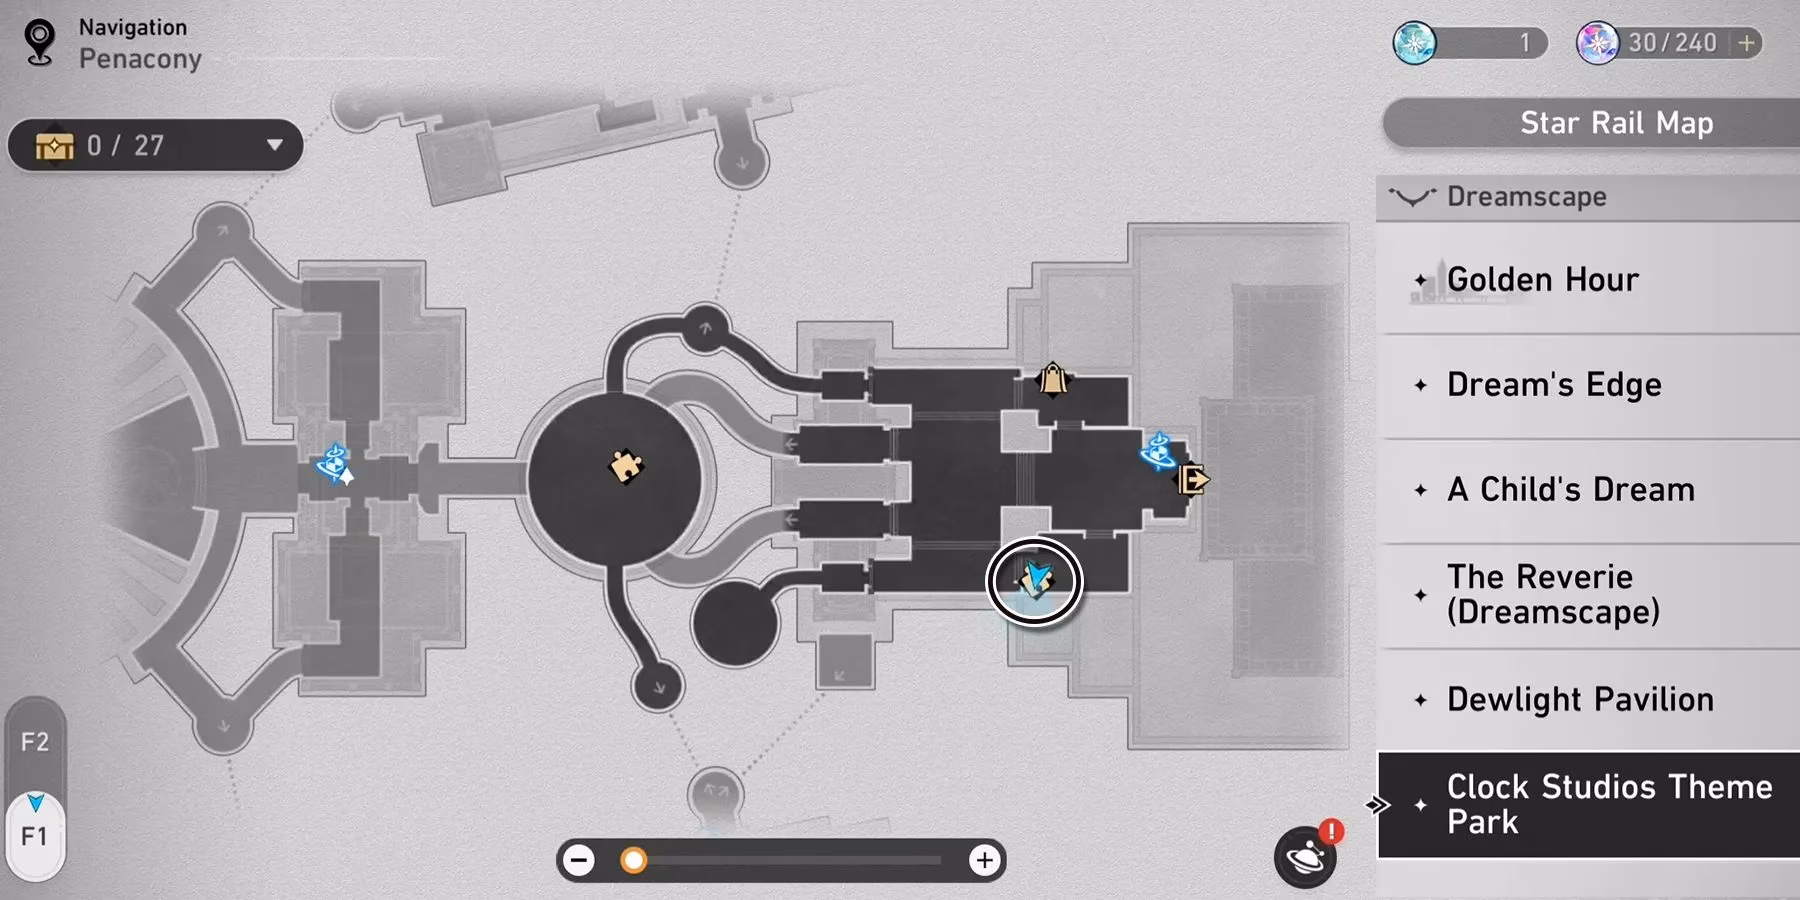
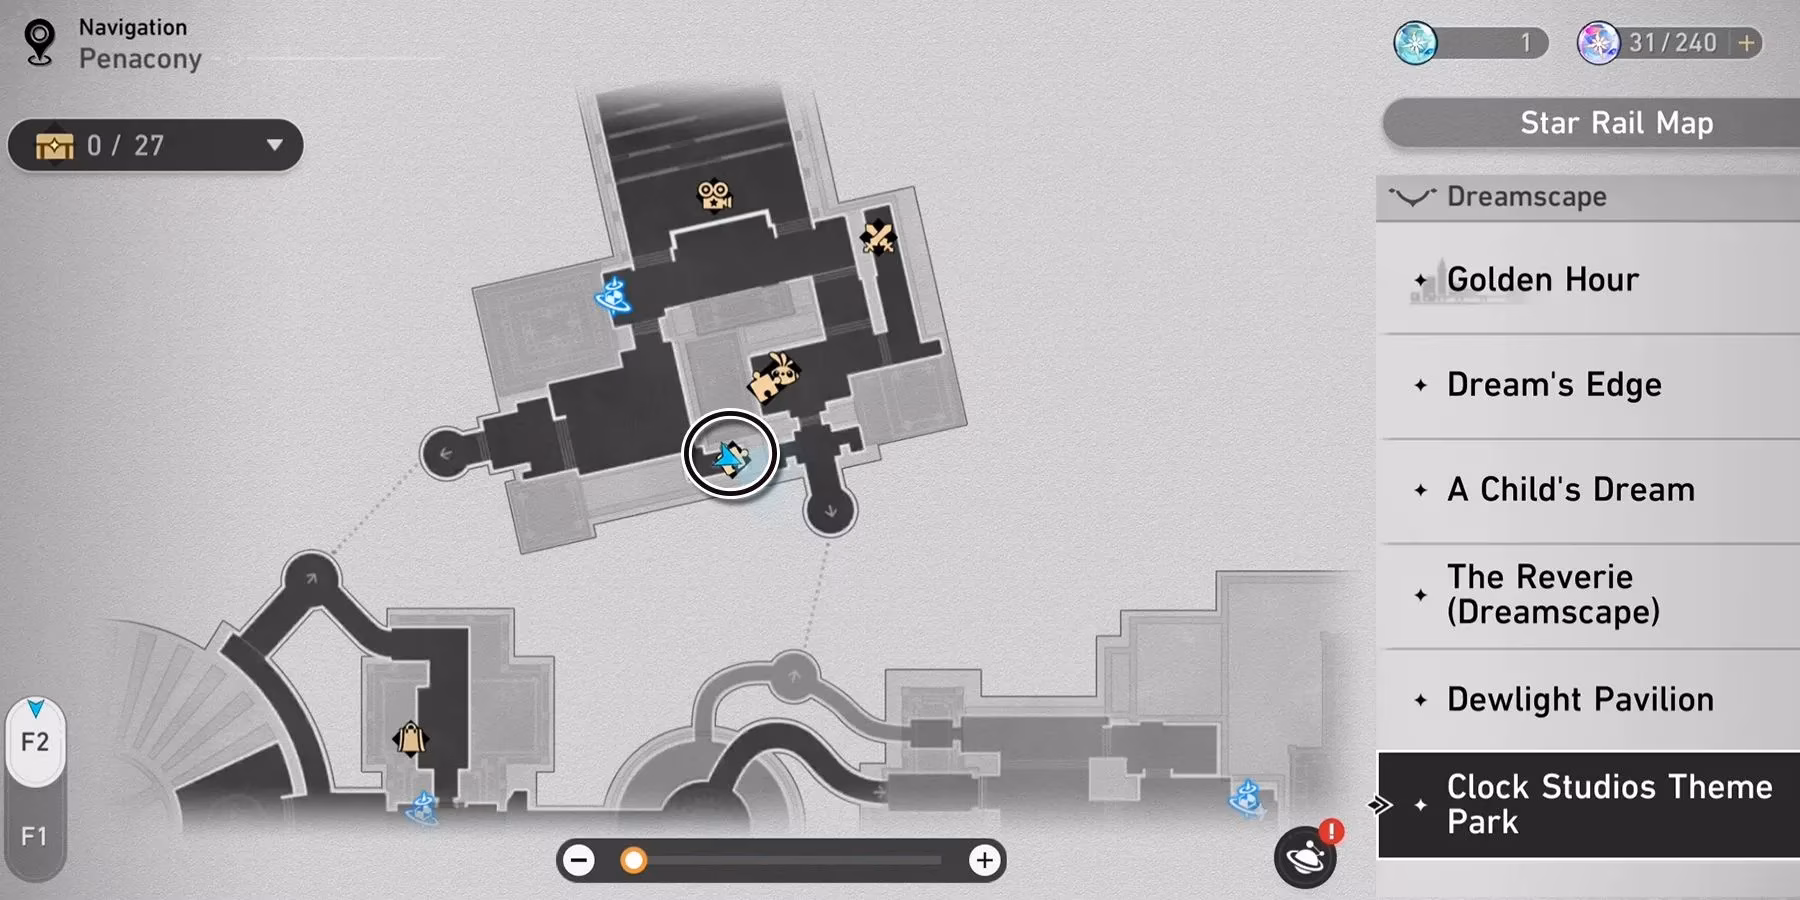
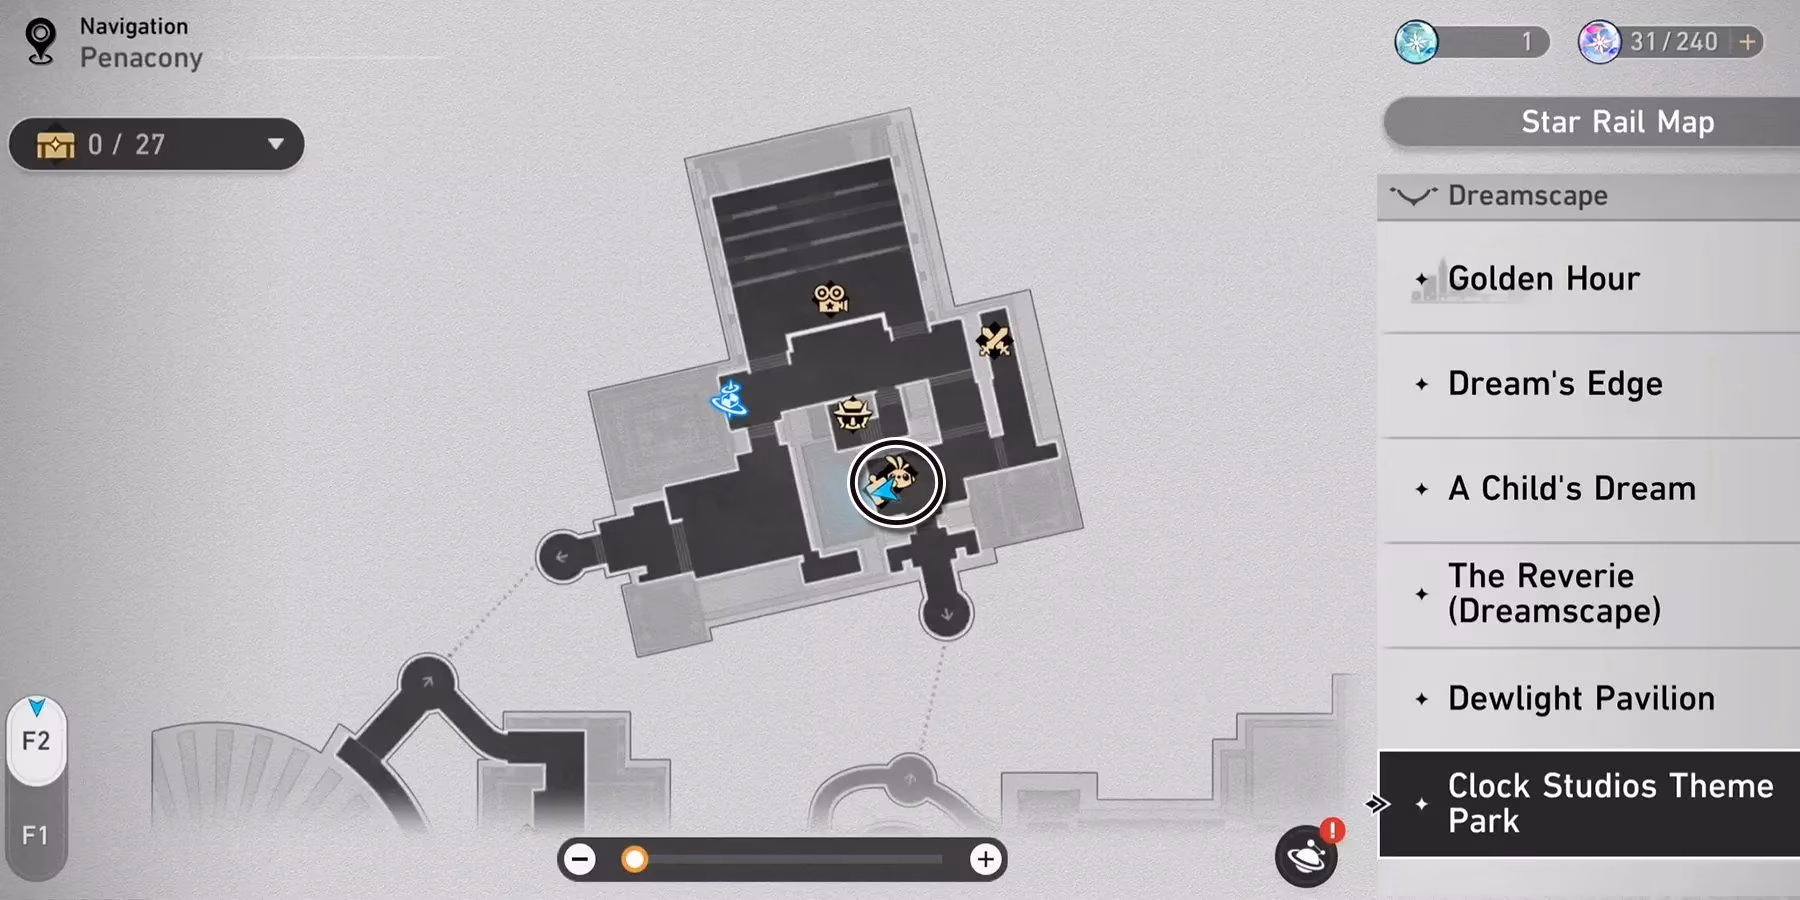
Stepping into Clock Studios Theme Park in Penacony feels like wandering straight into a cartoon dream. This place, by now in 2026, has cemented its reputation as the entertainment hotspot of the planet—where every corner hums with the energy of beloved characters like Clockie, Hanu, and the ever-heroic Hamster Ball Knight. Among the roller coasters and popcorn stands, the real stars for many Trailblazers are the brand-new mini-games… and, of course, those familiar, brain-tickling Dream Ticker puzzles that first popped up back in version 2.0. Four of these tricky gear mazes are scattered around the park, just waiting to tease your spatial reasoning. Don’t worry—once you get the rhythm down, you’ll be guiding little Clockie to his golden gear like a seasoned conductor.

Let’s break down each puzzle step by step, as if we’re sitting side by side on a bench near the Bubble Pinball court. The whole experience is way more fun when you think of Clockie as an eager little buddy who just needs a clear path—and hey, sometimes the blue blocks seem to have a mind of their own, right?
Puzzle 1: The Yellow Brick Dance
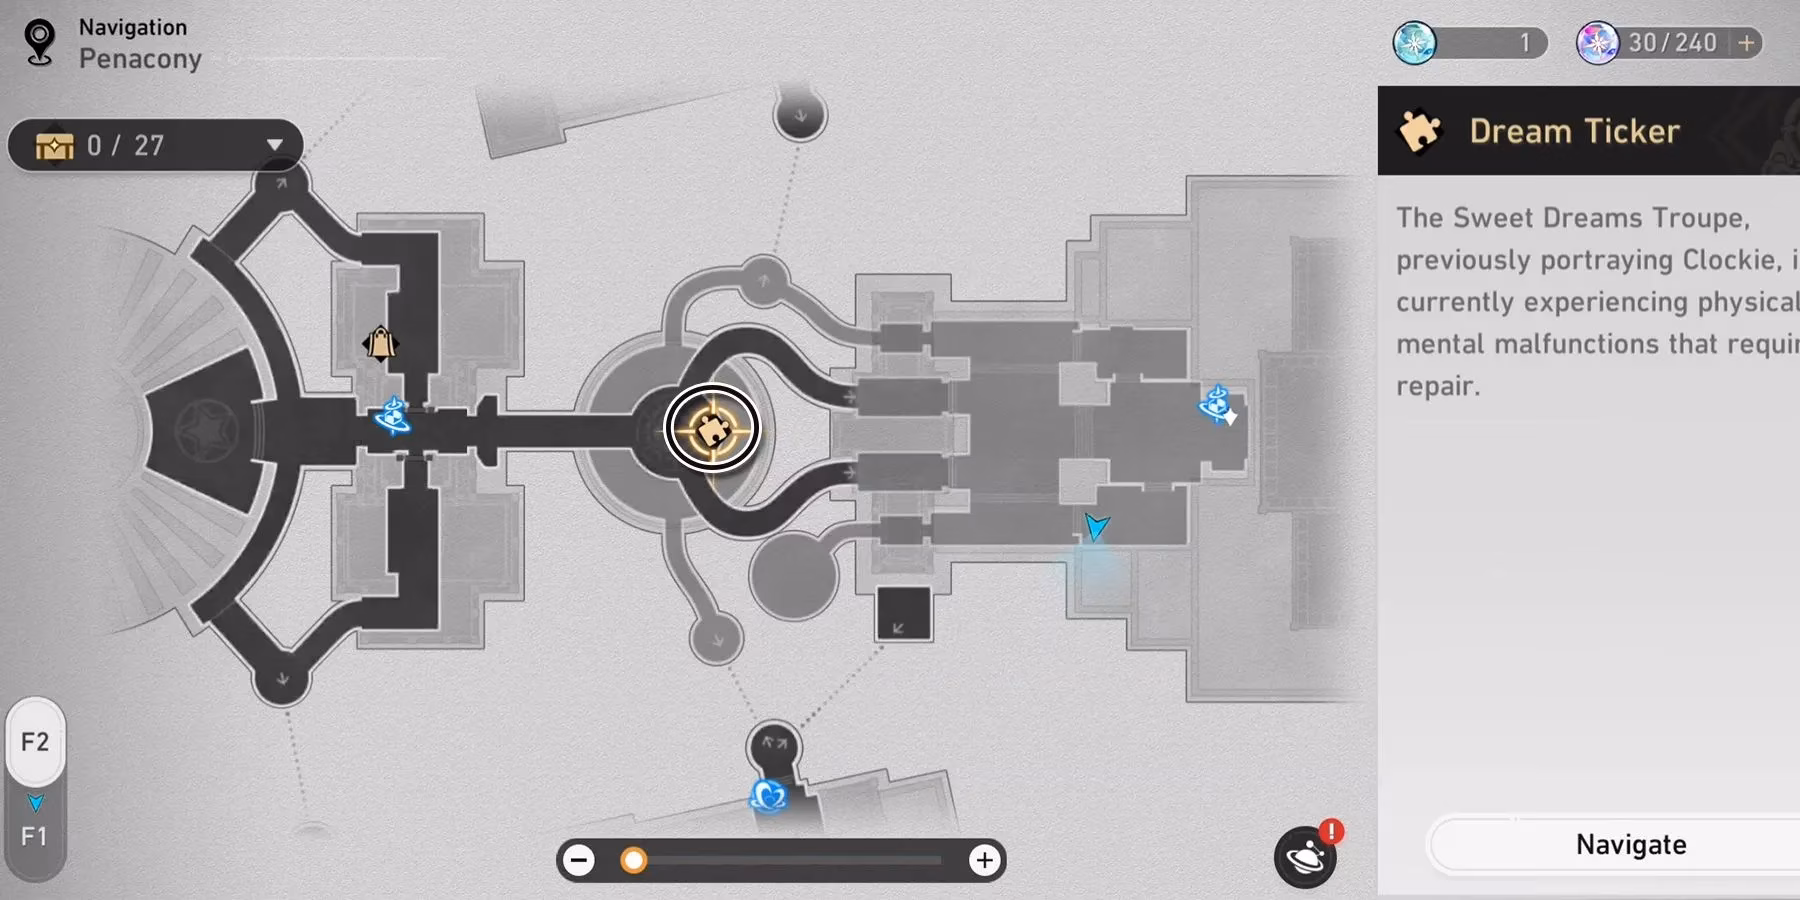
The first Dream Ticker greets you right after you enter the park’s main plaza, and it’s a gentle warm-up. The solution looks intimidating on first glance, but trust me, it’s all about that back-and-forth with the yellow bricks. Here’s how the dance goes: start by moving both yellow bricks so they form a straight corridor for Clockie. Then, rotate the blue block to hook it up with the yellow road and watch Clockie scurry toward the silver gear. Once he’s safely past that point, you rotate the blue block again to free up the yellow pieces. Now—this is the part where some folks panic—shift the mirror all the way to the left, and immediately push the leftmost yellow brick all the way left too. Rotate the blue block one more time to bridge the gap, and finally drag the second yellow brick snug against the golden gear. Clockie will zip through, and you’ll get that satisfying jingle. Easy peasy once you’ve seen the pattern.
Puzzle 2: The Troll’s Trick
Now, if the first puzzle was a friendly nudge, the second one—known among players as the Troll Dream Ticker—really earns its name. The layout looks simple, just a few blue blocks and a mirror, but the timing can make you want to facepalm. The secret? Spin that blue block three times right from the start, and then let Clockie reach the silver gear without any more fuss. Once he’s there, you give that same blue block two more rotations. By now you might be thinking, “Again with the spinning?” — yeah, this thing loves to rotate. Then, shift the mirror so it creates a neat road straight to the golden gear. The troll part is that if you move the mirror too early, poor Clockie will just toddle off into nowhere. So patience, my friend. Wait until the rotations are done before you adjust the mirror, and you’ll outsmart this mischievous puzzle in no time.
Puzzle 3: The Three‑Act Play
Ah, the third Dream Ticker is a little drama in three parts. The first two acts follow almost the same script. You start by grabbing the yellow block nearest to Clockie and moving it aside—this unlocks the second yellow brick. Drag that second brick toward Clockie, then link the first yellow block back to it, creating a cute little yellow highway. Next, give that nearby blue block one rotation, and tweak the mirror so it reflects the blue block, forming a path to the silver gear. When the silver gear moves into place, you can literally just sit back and watch, because your first setup already hands Clockie a ride to the silver gear. For the third act (the actual final round), things shift gears. Rotate the furthest blue block three times, then rotate the first blue brick once. Lastly, drag the nearest yellow brick to the left until it connects to a dark road. This move completes the chain, and Clockie triumphantly reaches the golden gear. The whole three-part journey feels like orchestrating a tiny mechanical ballet.
Puzzle 4: The Finale in the Backlot
The fourth and final Dream Ticker is tucked away in the theme park’s backlot, almost like a hidden encore. It doesn’t mess around—but the solution has a rhythm that sticks with you. Rotate the nearest blue block once, then immediately rotate the furthest blue block three times. Wait for Clockie to get to the silver gear (grab a sip of your cosmic drink while you do, because this part is automatic once the rotation is set). After he passes the silver gear, the only missing link is the mirror. Adjust it to reflect the path and—boom—Clockie’s little legs carry him straight to the golden gear. It’s almost poetic how the mirror swoops in like a guardian angel at the last moment. Once you complete this one, the whole set is under your belt, and you can strut through the park like a true clockwork champion.
These four Dream Ticker puzzles are more than just obstacles—they’re little love letters to everyone who enjoys tinkering with mechanics and watching a spunky gear character chase his dream. The Clock Studios Theme Park keeps adding new attractions as of 2026, but these puzzles remain a rite of passage. Next time you visit Penacony, give ’em a whirl, and remember: the blue blocks may be stubborn, but your clever touch can turn them into a red carpet for Clockie. Happy puzzling, Trailblazer!
Comments